Thursday, February 3, 2022

Let it Snow!!!

 A new month a new challenge at Happy Little Stampers Christmas Challenge, the theme is always everything goes but there is an option to feature Snowflakes on your project. 

I can't believe January is over and we are on to February and it's a good time to make a "snow" card,  I just heard the weather report and we are readying ourselves for another storm, not sure where I'm going to put the snow as I'm not very tall and it's hard to throw the snow up on the already huge piles. Again it will be a good reason to stay inside and play catchup with some cards.  In keeping with the "snow piles" I picked a House Mouse Gruffie. 
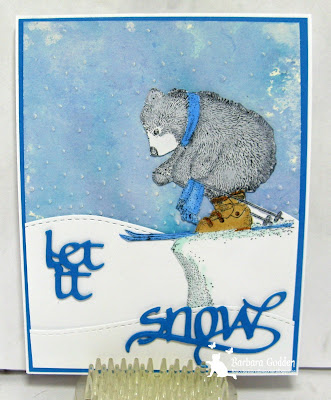

First I found a piece of oxide inked watercolour pa
per, looks perfect for a wintery sky, I stamped the Gruffie, coloured and fussy cut, he sure looks dangerously close to the edge of the precipice. Added a couple more snowbanks and Let It Snow is from Elizabeth Craft Designs and it was cut three times and glued together to give it a tiny bit of height. 
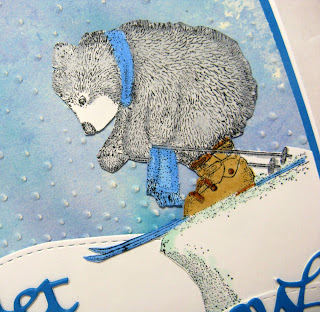

Closer look at the Gruffie.
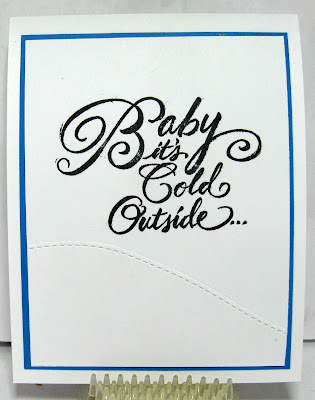

The sentiment is a Stampendous Cling Mount stamp.

My laptop has recently updated to Windows 11, it's been a learning curve, everything I do from putting photos on the computer to editing them has been very frustrating. The computer wouldn't even load Google Chrome, a lot of sites do not work well with Edge, in hindsight I should have clicked NO. 

I am entering this in:


ABC Christmas Challenge ~~ A Anything Christmas & B

Christmas Kickstart Challenge ~~ Sentiment takes center stage.


Thanks for stopping by and stop over at the main blog and check out the projects the rest of the design  team have made. Not not making Christmas cards yet then check out the Stencil, CAS, Watercolour, or Anything Goes with Dies challenges. 


Tuesday, February 1, 2022

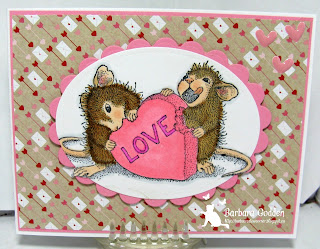
My Heart Beets for You....

 Hello and welcome to a new challenge at Shopping Our Stash #463 My Heart Beets for You,  We want to see Hearts or vegetables or both on your project. Well I check my hoard of stamps and couldn't find anything that looked like a vegetable lots of fruit though, so I just went with a Heart. 


I used one of my older House Mouse Designs wood mount stamps and dug into my scrap folder for the pink cardstock to use, cut with the original spellbinders large ovals and added three heavy cardstock ovals to elevate the image just a bit. Then added it to the Martha Stewart Valentine paper pad I found 3 or more years ago at Dollarams. 


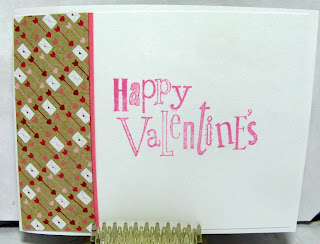
Finished the inside with some left over patterned paper and an ancient sentiment stamp from Inkadinkadoo. 

I am entering this in:

House Mouse and Friends Monday Challenge ~~ Anything Goes

Thanks for stopping by and check out the awesome projects the rest of the design team have made, a couple of them have vegetables. 


Monday, January 31, 2022

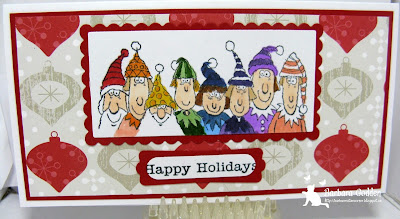
It's a Rainbow of Elves

 It was not my plan to be rushing to finish a card for two challenges that end today....Rudolph Days and Christmas Kickstart, I have had the idea for the card for a month and finally squeezed in some time to get it done. 


I used an old set from Stampin'up, there are three stamps in the set, Snowmen, Reindeer and Elves. I coloured them with the colours of the rainbow for Rainbow Christmas, I must admit I almost scrapped the project as it was not the easiest to colour. There are only 7 rainbow colours and 8 elves so the one on the end is just a tag-a-long. I also used the patterned paper that was on my table. This is a Mini Slimline card. 

Since I'm running with only one hour left this is a very quick post.

I'm entering this in:
Christmas Kickstart Challenge ~~ #58 Rainbow Christmas


Rudolph Days ~~ January 

Thanks for visiting today and have a great week.


Saturday, January 22, 2022

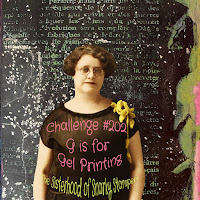
G is for Gel Printing.....

Hello family, friends and followers, it's time for a new challenge at the Sisterhood of Snarky Stampers, I missed the inky one and that would have been great I hope you played along.  I am not at all experienced with using the Gelli Plate, at least I have one but I've only used it once and wasn't too happy with the  results. 


Edna has done a crackerjack job with her gel printing background. (thanks to Lee)

Now on to my offering.

It's been a long drawn out affair getting this card together starting with finding the gelli plate since I haven't used it since bringing things home in October from the cottage  I checked a couple of Jennifer Maguire videos and although you cannot really see it what looks like speckles in the darker heart was a background stamp that I lifted some colour off after applying the stencil,  I made the print and let it dry then added a darker ink to the gelli plate and laid the Dollar Tree stencil on the ink then pressed the background stamp into it (guess I needed more pressure) then removed it,  added the prepared paper to transfer the image. Of course had to add a snarky cat, sentiment and a few rhinestones.


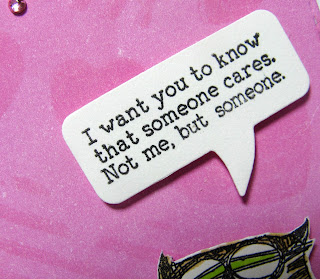
Close up of the snarky saying.


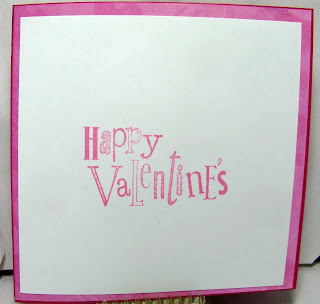
Finished the inside with the off cut from the gel print and a Valentine sentiment. 

I'm entering this in:


Thanks for stopping by today and head over to the Main Blog to check out what the rest of the design team have made, they are so much more experiences than I am. 


Tuesday, January 18, 2022

We are going "Across the Border" at Shopping Our Stash.

 We are not doing any travelling yet, but challenge 482 at Shopping Our Stash is to use any border punch or border die on your project. I'm sure everyone has some ancient fiskers or Stampin'up border punches in drawer somewhere, time to dig them out and put them to use. I decided to use one of the first border dies I bought and make a Birthday card. Although I'm still making Christmas all year it's nice to have a change.


I also dug deep to find the blackberry bliss cardstock and the ribbon matches perfectly although no room for  a bow. The Happy Birthday is one of my newer dies but never been used, I really like it and I'm sure it will get much more of a workout now.


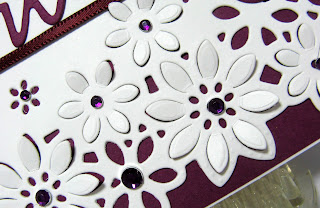
Close up of the daisies and the very very old rhinestones I have no idea when I bought them or even where, but they matched.


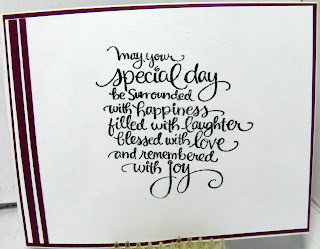
Finished the inside with a couple of scraps of cardstock and a Stampendous Cling Stamp.

Challenges I would like to enter:

NBUS ~~ #34

A Place to Start ~~ #012022 January Anything Goes.


Thanks for stopping by here today and head over to the Main Blog and check out what border punches/dies the rest of the team have made. 


Monday, January 10, 2022

Is it Vintage or Shabby Chic?

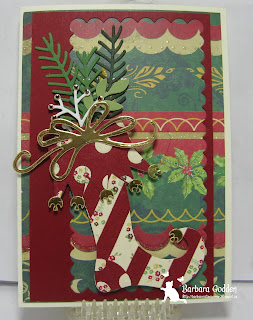
Finally after giving myself a push this morning I managed to get some mojo to make a card, I had a lot of help from my "helper" picture to the right. Not sure why for the first crafting of the new year I would pick a die that has at least 15 tiny circles, bells and stripes but I persevered and "got 'er done". 


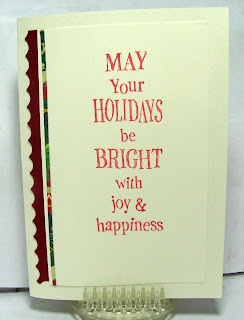
The Christmas snippit box took quite a beating today, The patterned paper I saw in there it was holly and berries, I cut it to size and of course it is double sided and wow I liked the other side, woohoo. The red left over die cut was also in my scrap box and I was building my card, I was very excited because I don't make vintage/shabby chic or build much. The Jester Stocking was also cut from scraps and all the foliage and bow were in the Ferrero Rocher box. 


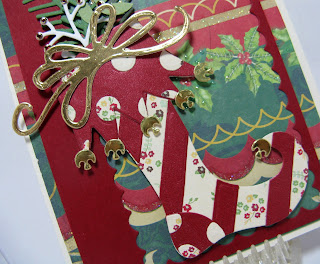
Close up of the focal point.


Finished the inside with an ancient Stampabilities sentiment and of course some scraps from the snippits from the front. 

I'm entering this in:

Jingle Belles Rock Challenge ~~ Thank You Santa (it was me)

Snippits Playgound ~~ challenge 419

Thanks for stopping by today and have a fabulous week. 


Tuesday, January 4, 2022

Happy New Year

And Welcome to the first Happy Little Stampers Christmas Challenge of 2022. 


We made it easy for the the first challenge after the holidays, which was good for me as it was a comedy of errors from the start, it happens when you pick the patterned paper and as soon as it's glued to the cardstock you know it was a wrong choice (it was not savable) 


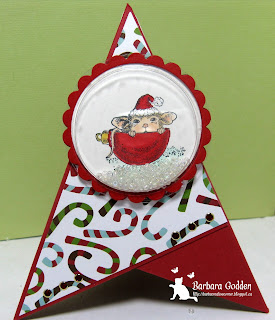
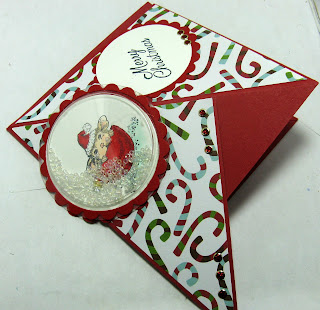
I made a "TeePee" card they are normally simple, 3- 4 inch squares of cardstock 3- 3 3/4 inch pieces of patterned paper, you can make them any size you want but this one fits an A2 envelope.  I realized I hadn't used this stamp in 2021 so needed to use it as it works really well for a shaker. 
Now to the the next part of the "comedy of errors" As I am taking pictures the tape on the dome let loose and there were mini beads all over fortunately they were all in the photo box. I must remember to tape or glue the edges of the shaker dome as the "sticky" was compromised. 


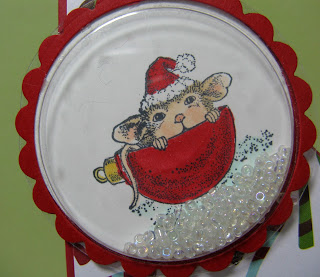
close  up of the shaker part.


Here is how it folds up to fit in the envelope. To close the card I used a small dot of velcro.

I'm entering this in:


Thanks for stopping by today, check out what the rest of the design team have made for the challenge then get your Christmas Crafty on and join us,