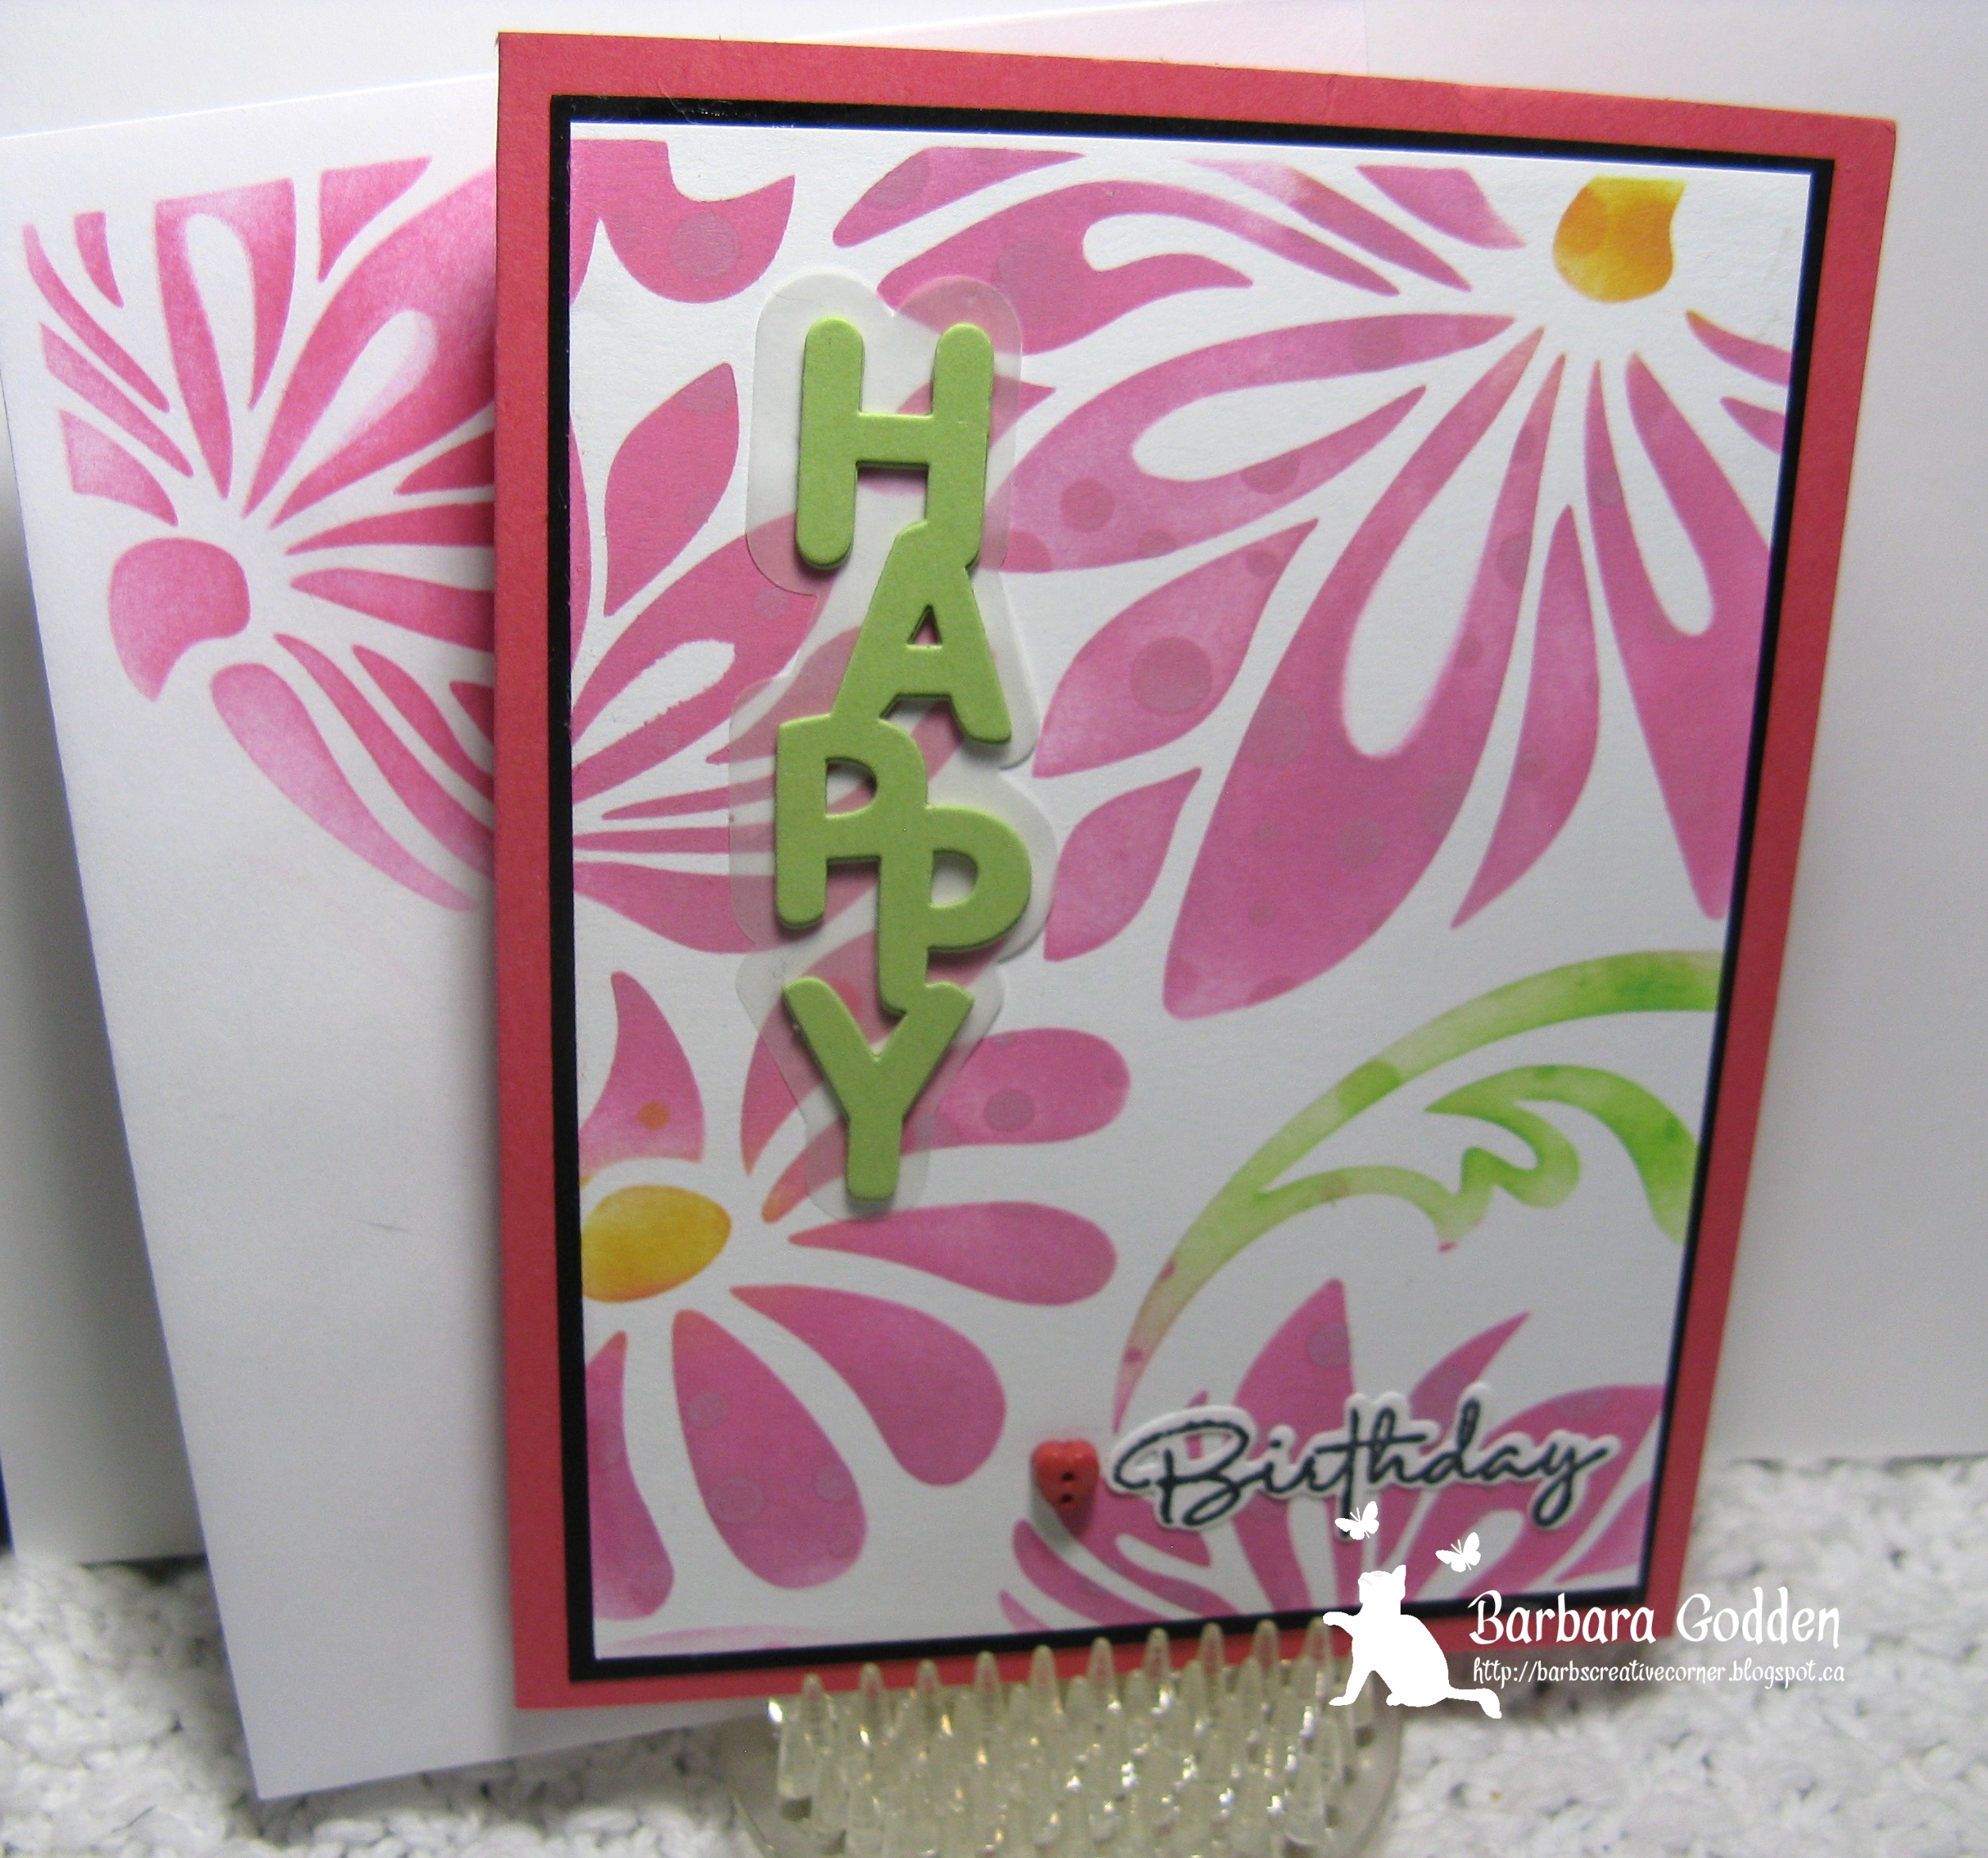
Still struggling with the left hand not wanting to do what I want it to, typing is not easy either but on the up side I got a card made and with physio my fingers will be back working 100%. This blog post will be photo heavy typing not so much. The challenge at Shopping our Stash is Button, Button who has the button, now I know I must have 99+ buttons in my stash and I did find a few and picked the one that looked the best, didn't want to upstage the technique I used.
Showing posts with label technique.. Show all posts
Tuesday, June 18, 2024
Button, Button Who's got the Button?
I tried a new technique called Double Stamping, not sure you can check it out here. This was a first attempt as although I have stencils I am not a stencil girl. The stencils are many eons old, the floral is the first one I bought and the bubbles one is a couple of years old. The button is probably 15 years old. I also stenciled the envelope.
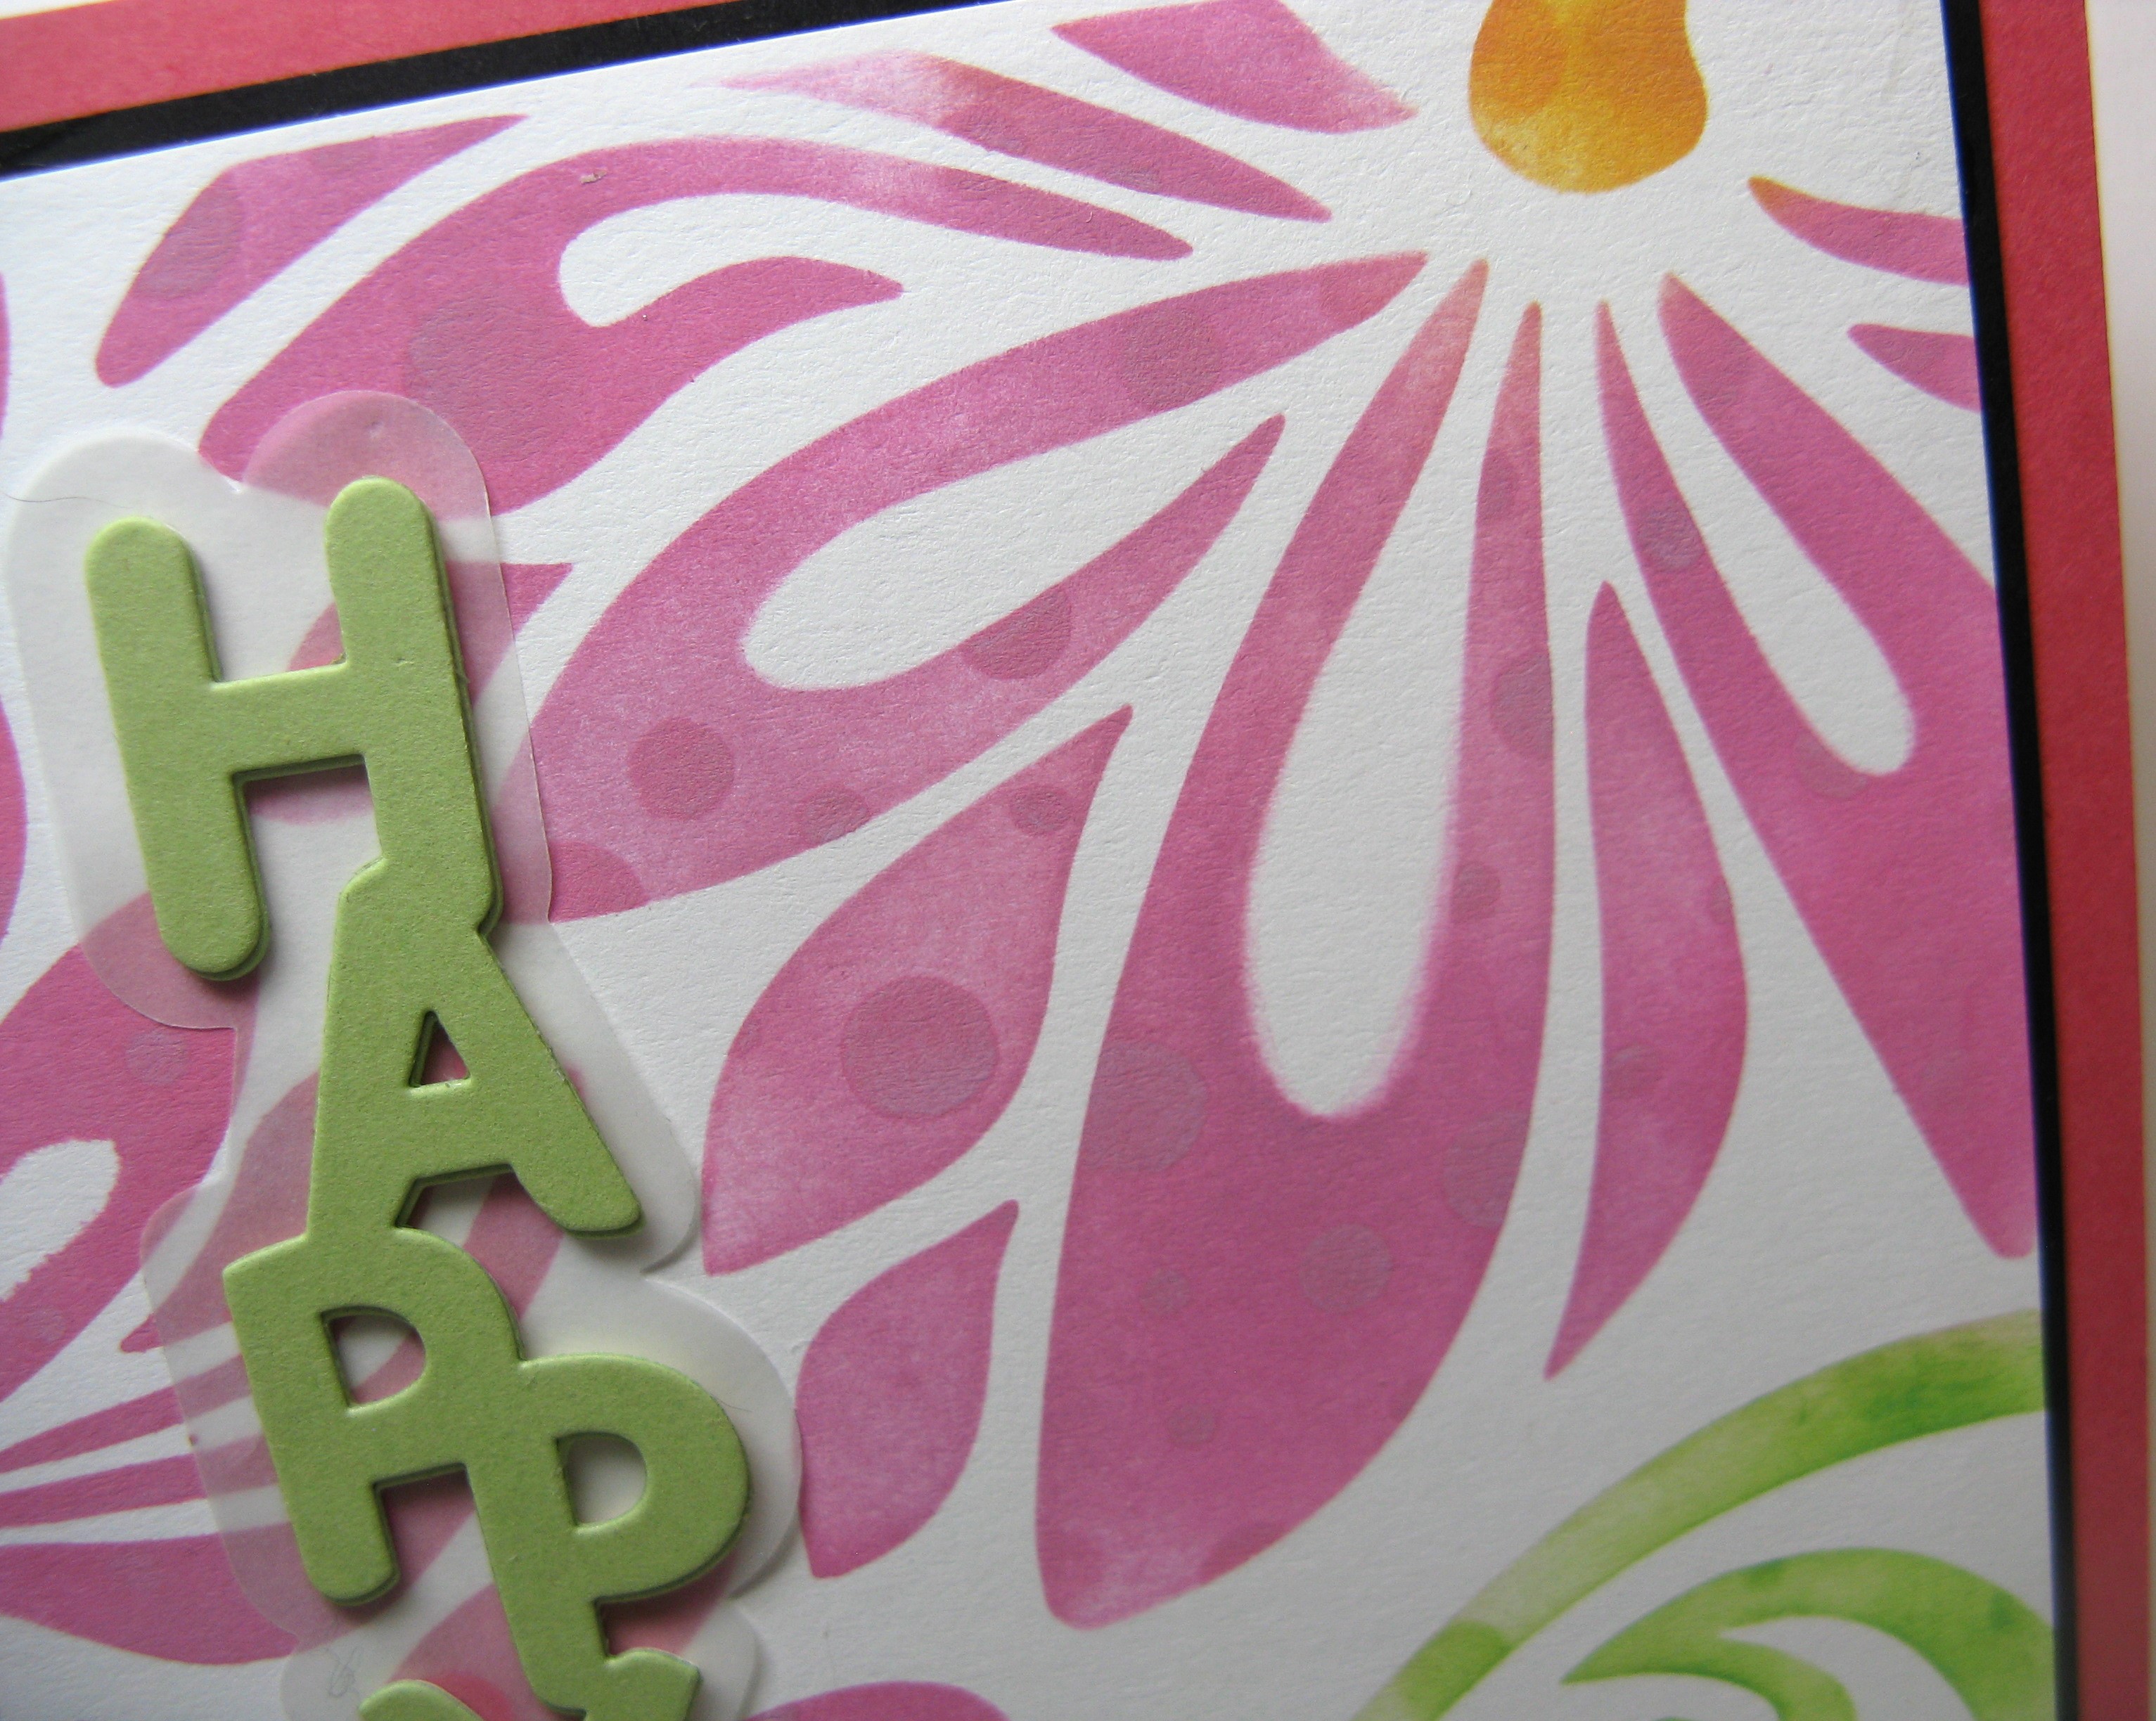
A close up of the double stenciling.
Here is close up of the tiny heart shaped button that is the theme of the challenge.
Finished the inside with a bit of stenciling and a favourite sentiment.
I am adding this to:
Seize the Birthday ~~ Double Stamping #285
Color Hues ~~ #89 Sage & Pink
Thanks for stopping by today and don't forget to check out the Main Blog and see what buttons the rest of the design team has found in their stash.
Tuesday, December 28, 2021
Pixie's Snippit's Playground #418
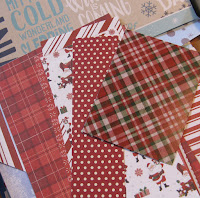
I have just recently found this challenge Di is the owner of Pixie's Crafty Workshop and right now there is a HUGE assortment of prizes to be won, You only have to make one card but you must check out all the posts and decide if you want to be entered for that prize. You have to use "snippits" which of course are scraps, you know how we all save scraps. I just started a Christmas/Winter snippit box here is a picture of it and what I used for my card is on top, I didn't take a picture of the "Ferrero Rocher" box that houses my extra sentiment cuts and other items. (I now have 3)
When I have some time I sort scraps. Now on with my card.
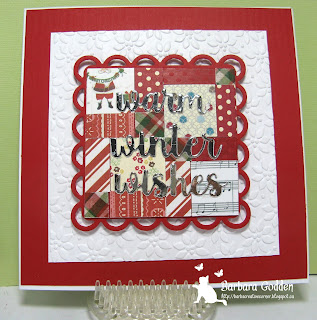
I used a tutorial from Splitcoast Stampers for a "Disappearing 9 Patch Card" it looks really difficult but was very easy to do and the tutorial and video were very good.
After I got the main image done I layered it on a spellbinders scalloped square die cut then on the white that is embossed with a poinsettia folder (SU) Warm Winter Wishes in silver was already die cut and ready to use.
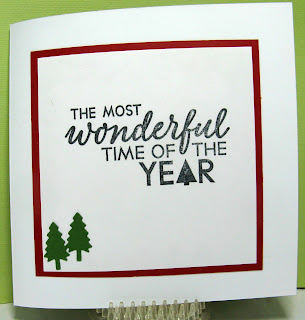
I finished the inside with a Hero Arts sentiment and a couple of die cut trees also for the snippits box.
I am entering this in:
Pixies Snippit's Playground ~~ #419
Christmas Kickstart Challenge ~~ If it's Christmassy link it up
Thanks for stopping by and hope you had a fabulous Christmas.
Saturday, June 13, 2020
T is for Technique at the Sisterhood of Snarky Stampers!!!
Edna stole my colour pallet
I bought this paper pad at Walmart before I retired and I have been retired 19 years. I think I've been hoarding it as it is so pretty. My sticker maker made placing of the strips very easy. I used 4 different 12 X 12 co-ordinating patterned paper cut in 1/4 inch strips, now the video said 9 so I cut 9 of each design and I have enough left for at least 3 more cards, next time I must pay attention to the small details. I added a samll sentiment as I really wanted the background to be the star.
The sentiment is from Wine Not from Creative Impressions and has 20 wine related sentiments.
There are many more techniques at the Main Blog when you have checked the rest of the design team techniques find a good one and join us. I am looking forward to seeing something I've never seen before.
Thanks for joining me here today and have a wonderful weekend.
The sentiment is from Wine Not from Creative Impressions and has 20 wine related sentiments.
There are many more techniques at the Main Blog when you have checked the rest of the design team techniques find a good one and join us. I am looking forward to seeing something I've never seen before.
Thanks for joining me here today and have a wonderful weekend.
Saturday, October 19, 2019
It's That Time of Year again!!! P is for Pink Halloween
October is Breast Cancer awareness month and it's time for the Sisterhood of Snarky Stampers annual Pink Halloween challenge.
Look at the Awesome Graphic that Lee made for us this challenge.(note the burning sage)
I saw a video from Jennifer Maguire Made in Minutes beaded slider card. (easy for her) My next attempt will be better and easier if there is one. Its a beaded slider card.
It would be easier if I had cut the spiders with double sided tape on them, (I will make a note of that) The spider slides up and down on a piece of clear thread. I didn't put a sentiment on the front as I didn't want to cover up the skulls.
second look at it after is slid down the thread,
Just a simple Happy Halloween on the inside (sorry I just couldn't snark a Pink Halloween card.
Thanks for stopping by today and check out the rest of the Pink Halloween cards on the Main Blog.
Tuesday, March 7, 2017
Shopping Our Stash #294 ~~ All it's Cracked Up to Be!!!
Shopping Our Stash is challenging you to use a crackle technique. Now I have been challenged!!! There are a lot of videos and none helped me with my project, you see I had a plan and nothing was swaying me from that plan!! After three days and as many false starts it finally came together.
I must quit surfing Pinterest, that is where I saw the crackle frame and knew I wanted to try to replicate it. I think it worked out well. Although I have used the Poppy Stamps Madison large frame many times the window box has never been used. I hope you can see the two white kitties looking out at the visitor. I had some nylon netting to use for curtains and I added a scrap of flowered paper for the inside wall.
I had some scraps of grass left over from an Easter project so I just added a few flowers and put those super cute pearls from Eyelet Outlet for the centers, they come in all colours and in rhinestones as well, 5 long strips of 100 in a package.
Here is the very fine crackle that the Deco Art crackle medium made.
Stash I used:
Deco Art crackle medium
Gesso
Acrylic paint (left over from tole painting classes)
Poppy Stamps Large window box at least 3 years without using
All the cardstock was from my scraps box even the card base.
Well with that all said we are looking forward to see your "crackle technique" project. Thanks for visiting and have a wonderful week.
Tuesday, August 30, 2016
Challenge #267 At Shopping Our Stash is Learn Something New!!
So many new techniques, folds and tutorials and at Shopping Our Stash we want you to try a new one to you, something you have never tried. Well I love to try new techniques and I've done faux silk, faux leather, triple stamping, and a lot of others so I went searching and found one that was so intriguing called Floating Chalk Prints. I made a few before I had one that I was pleased with although the others were fine just not what I was aiming at, every attempt give a different pattern.
I found a sketch at CAS Colours & Sketch (I just might be in time to enter this) I wanted something that gave lots space to show off the technique which is very simple, container that is big enough for your paper, couple of centimeters of water, scrape some vibrant coloured chalks (I used some SU chalks) then put the cardstock in it lift up and let dry. Hello is a cuttlebug die plate I've had for more years than I can remember. An oval and a butterfly from a package from the $$ store.
Closer look at the floating chalk background.
Another angle, there are lots of tiny specks of chalk on it, doesn't really show that well.
I would like to enter this in
NBUS challenge #7 chalks have been hanging around for 4 years and never used
CAS Colours and Sketch #188 I flipped the sketch.
Thanks for visiting today and head over to the SOS blog and see what different techniques the rest of my teamies have done.
Saturday, April 16, 2016
The Sisterhood of Snarky Stampers has a NEW Challenge and it's all about Embossing Techniques
Challenge #57 at the Sisterhood of Snarky Stampers is Embossing Techniques.....so dig out those embossing folders or warm up the heat gun and join us for the fun. I really wanted to try a new technique, one that I have wanted to do for a long time and I did it. Here is the technique I used from Candy stamps. Don't forget to check out the blog to see what the other sisters have chosen for their Embossing Technique.
I embossed the green shimmer sheetz with the Textile folder I taped it to a green base and rubbed black stazon ink over the raised sections, I decided I wanted to practise with the die I bought last year at scrapfest, I bought the butterfly stamp years ago in Ottawa and the stamp shop was sold to
the Frogs Whiskers and it is one of the stamps they continue to carry and have the die to match.
The simmer sheetz are hard to photograph but I thought this angle showed the raised design.
I see I need practise wielding the stamp pad,or perhaps it needs more ink.
Inside of the card using an older pail topper stamp from Stampendous
Thanks for stopping by today and I hope you will take some time to join in the fun at the Sisterhood of Snarky Stampers. (snark is optional)
Tuesday, April 29, 2014
It’s Tuesday…Challenge time at Shopping Our Stash!!
For my Clear it Out Tuesday blog post scroll down or click HERE.
It’s almost May and it’s a May Day challenge at Shopping Our Stash,
Here is my project for the challenge, it is a 2013 day planner I repurposed for keeping track of my challenges. Lots of space on each page to jot down challenges I want to do and what dt projects that need to be done and checked off when they are finished. Here is the inspiration picture for you.
It’s almost May and it’s a May Day challenge at Shopping Our Stash,
Here is my project for the challenge, it is a 2013 day planner I repurposed for keeping track of my challenges. Lots of space on each page to jot down challenges I want to do and what dt projects that need to be done and checked off when they are finished. Here is the inspiration picture for you.
May 1st is May Day I’m not sure if any schools do the May pole dance it was quite the co-ordination to get the over and under to make the pattern on the pole. The picture is just to inspire you for the challenge. You can go many ways with it, ribbons, something twisted, tall and skinny, rainbow colours you have lots of options. As you can see I went with the ribbon theme and I used the 7 Chakra colours on the coils of the book, I love purple and had some scraps from other projects so did my new favourite thing and made a sunburst. I used a Bugaboo image it doesn’t pertain to May Day but it shows me it’s my crafting book. You can find Bugaboo images HERE
.
.
I love the sentiment it came along with the image I used, hope it keeps me on track.
I am entering this in:
Glitter N Sparkle Challenge blog challenge #82 use some ribbon.
Thanks for stopping by today to check out what I’ve been crafting. I hope you will join the May Day challenge at Shopping Our Stash.
Subscribe to:
Posts (Atom)